Boy, the last four months have not been my friend in terms of projects. Aside from work and travel, I have spent all of my time on just one project.
It's springtime, so I've been growing this:
While it would have been a lot more fun if this bump was the result of 17 weeks of beer-guzzling, instead there is an actual "being" in there!
And that "being" has kicked my ass for the last 2.5 months. But I see the light at the end of the nausea/exhaustion tunnel, and I'm actually giving consideration to sewing something again!
I thought about sewing maternity clothes, but I may ease myself back into it by sewing up a toy or a pair of baby pants. We'll see. I have a 3-day weekend with some rain in the forecast, so perhaps I'll dust off the old Pfaff.
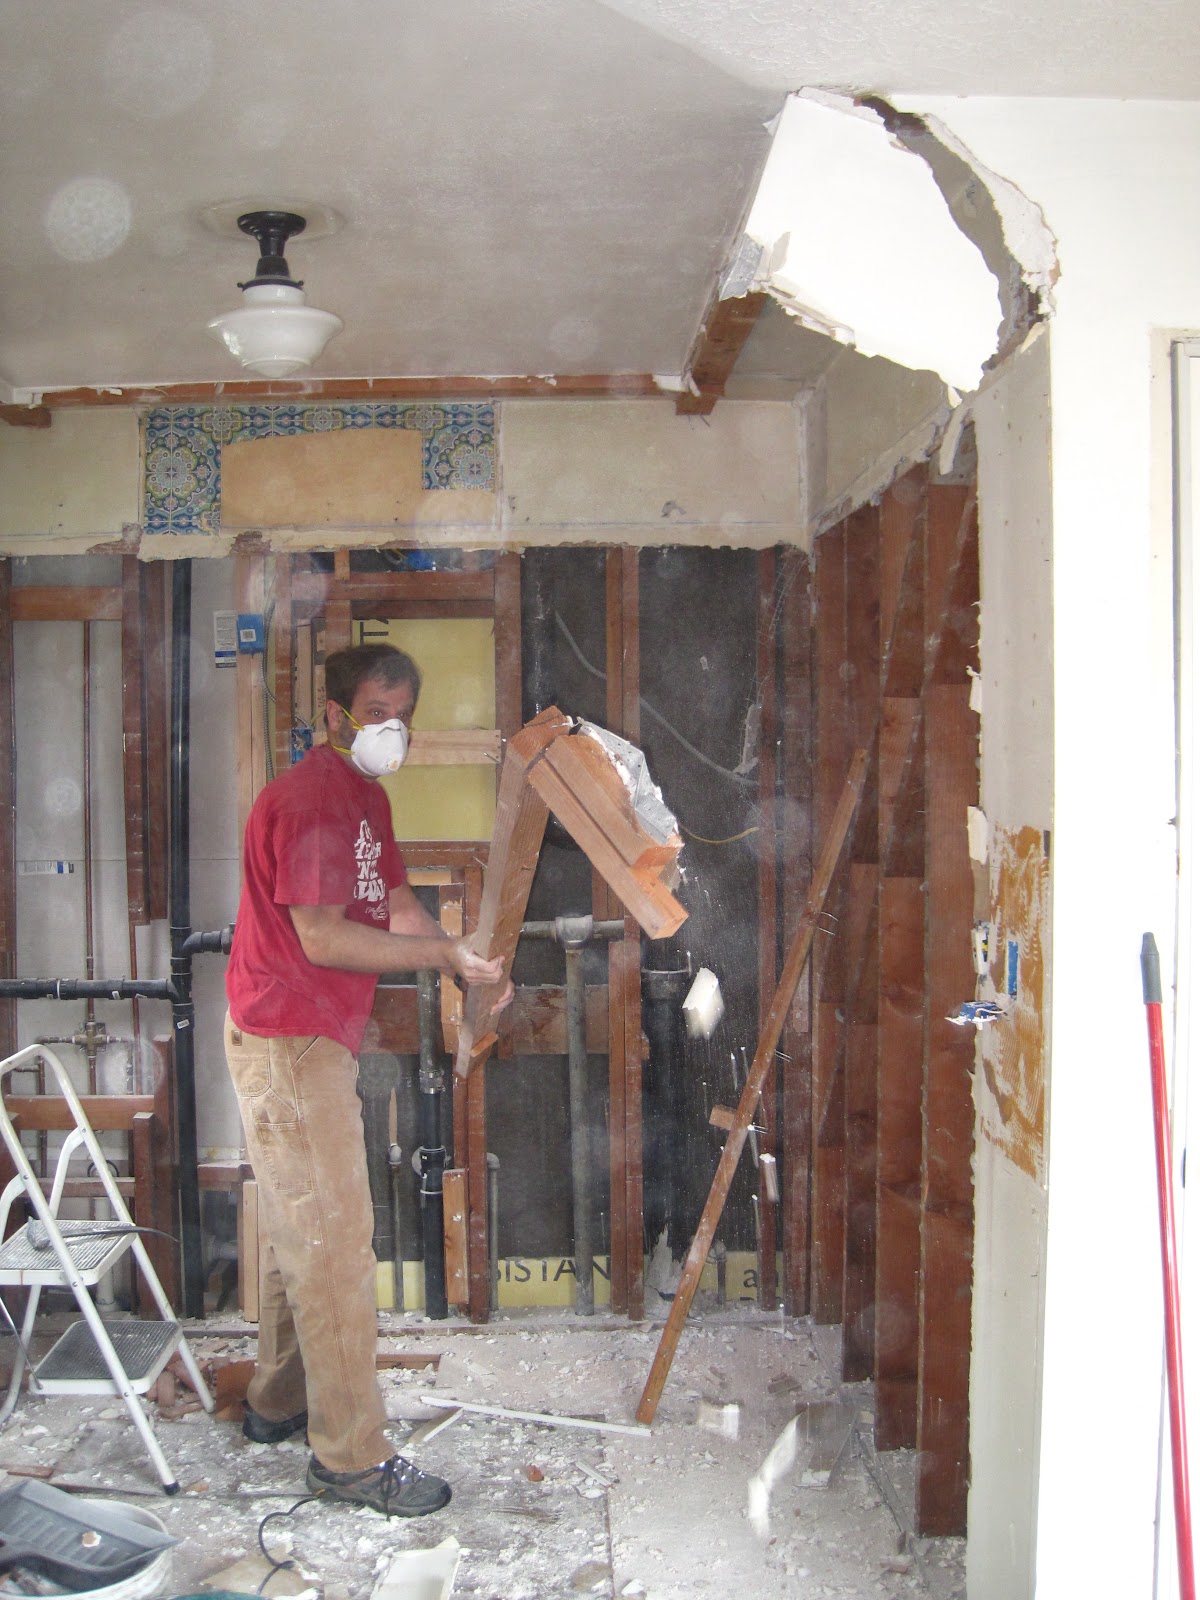
In the meantime, pregnancy has not held Mike back from projects. He's continued work on sinking fence posts in the front yard, and staining planter boxes.
Thank goodness something is getting done around here!
Showing posts with label House Projects. Show all posts
May 15, 2013
October 4, 2012
Kitchen Project Update: cabinet installation
Now that we have our wood floors installed, Mike has begun installing the cabinets. We've got two more upper cabinets to install and one more lower cabinet. It's taking shape!
September 10, 2012
Kitchen Project Update: wood floors
After waiting three weeks for the floors to arrive by train (ostensibly from Virginia Mill, but the boxes distinctly said: Made in China (!), we were able to install them last Saturday. Papa came down to offer his invaluable experience, and as a result it only took 5 hours!
We purchased our flooring from Lumber Liquidators. It's hand-scraped, matte finish Coventry Oak, 4.75" wide boards, .75" thick, varying lengths. As you can seen in the above stacks, the lengths really varied. In some boxes there were maybe 8 different lengths, some with only a 2-3" difference. We opted to match the wood floors in the rest of the house by material and color only. We really wanted the handscraped matte look in the kitchen because it won't show wear and tear as readily, and the 4.75" wide boards meant that there were fewer boards to install.
We rented the nailer from Interstate Rentals and it worked pretty smoothly.
We installed Vapor Barrier between the subfloor and the wood floor to help prevent squeaks - it works!
The most time-consuming part was the angled transition between the living room and the kitchen. But with three heads (including a math teacher and an engineer), we got it figured out and it looks good.
We still need to get the transition piece, so for now it's a toe-stubbing hazard.
We were able to move the stove, dishwasher and fridge into the room last night. The stove is hooked up, so we could feasibly boil water now!
![]() |
The fridge is hanging out in the middle of the room for now until we can change the door swing. |
August 21, 2012
Kitchen Project Update
It may not look like it, but we've come a long way on the kitchen
since I last posted about it in early June.
In July, Mike redid the electrical and plumbing.
Earlier this month we had the drywall installed.
And a couple of weeks ago we painted.


Now we're in the process of installing the subfloor
in preparation for installation of our oak flooring next month!
July 8, 2012
Painted Display Shelves
I have had little display shelves hanging on the wall by my desk since last summer. One was light, unfinished wood; a Hobby Lobby purchase (I removed the glass door). The other was a vintage store find, and it was stained dark wood. I use them to store some miniatures, doodads and trinkets, and I've wanted to paint them so that they match and tie in with the rest of the room.
So while Susanna was here last month, and we had our painting clothes on, I gave the insides of each shelf a couple coats of gray glossy spray paint. Then I painted the outside edges a matte black (by hand).
They're mounted using Command velcro wall strips, which I find to be incredibly useful and handy. Just one on the back of each shelf does the trick.

I've grouped them together with a small copper
etching that I bought years ago at a PNCA art show (three
sisters), and the Joan Baez album cover that features my papa (the
young, handsome guy on the far right).
So while Susanna was here last month, and we had our painting clothes on, I gave the insides of each shelf a couple coats of gray glossy spray paint. Then I painted the outside edges a matte black (by hand).
As of yesterday, they are back up on the wall!


July 6, 2012
Susanna Week: painted porch
Perhaps you caught a glimpse of the porch in my painted chair post and noticed
that something was different. Something is! The porch is finished and
painted!
Last fall we had our old concrete front porch ripped out:
And a new one built and poured:
The new one is larger, smoother and most importantly, slopes away from the house so that water does not leak into the basement. At least that's how it works now, but it didn't when it was first re-built last October. After the first fall rain, we called the concrete guy to come back and patch the area by the front door to make sure it sloped AWAY from the house. Then several months went by and we noticed that the corner was slumping and cracking.
So the concrete guy came back in May, ripped out the top, inserted more rebar and poured the top again. This time adding an important feature: a seam down the top to allow for movement in the future.
Fast forward to June and it was finally cured enough to be painted. Which is exactly what Susanna did when she came to town two weeks ago. We still need to cover those columns and finish the underside of the overhang, but we're starting to look more respectable!
![]() | ||||||
Old front porch: a mixture of cinder blocks and concrete, and a couple oddly proportioned steps. |
![]() |
New front porch: all concrete, bigger overall, including bigger steps. |
So the concrete guy came back in May, ripped out the top, inserted more rebar and poured the top again. This time adding an important feature: a seam down the top to allow for movement in the future.
![]() | |
Note the small seam just to the right of the first column. Note: the cat is not dead; he's just lazy. |
June 26, 2012
Susanna Week: painted chairs
My sister Susanna has been visiting for the last week to help us out with some projects. Mike and I have been so focused on our kitchen remodel that it's been hard to redirect our attention to other projects. Of which there are many to do! Susanna graciously offered to come visit and tackle some for us. One of those was to paint the metal chairs that I bought last year at an antique store.
The chairs were generally in great shape, but the previous owner had painted them with matte latex paint, using a brush no less. So the paint was streaked and chipped, and while the color was fun, it was a little "off" in comparison to our house color.
So Susanna spent several hours sanding down the existing paint.
And then priming the chairs
And finally spray painting them Ivy Green!
She also did the little red metal table in the middle (another vintage store treasure).
A little note about spray paint:
We used Valspar spray paint because that is what Fred Meyer carries, our closest source for such things. We did have one can of Rustoleum primer leftover from another project - can you spot the difference in the photo of the primed chairs? The more opaque chair on the left used the Rustoleum primer. The Valspar primer had horrible coverage, which should have clued us into how the painting was going to go. Each chair used three (!) cans of paint. I painted my purple chair last summer with Rustoleum paint and it didn't even use a whole can. As a result, I wholeheartedly recommend the Rustoleum over the Valspar any day.
June 3, 2012
House Projects: work in progress
Kitchen demo continues...
With each wall we rip out, we're confronted by one more weird 80's retrofit.
So far we've taken out drywall, and under that plaster, and under that lathe, and under that old insulation. Next we have to redo the electrical and a little bit of plumbing, add insulation, then the drywallers will come in and close up the walls.
For the floors, we've chipped out tile and pulled up cement board. Next we'll rip out linoleum and cut out melamine. That's all to expose the sub-floor, onto which we intend to place some hardwood oak flooring. So much more to go but I'm so glad this project is underway - after 7 years I'm ready to have a finished kitchen!
May 12, 2012
House Projects: works in progress
Since Spring has arrived and we've been blessed with some nice/dry weather, Mike and I have begun to tackle our long list of summer house projects:
The front garden beds are slowly filling in with plants (cat mint can grow!) and we've sunk 5 posts for our wire grid fence.
The front porch that was redone last Fall was redone again (a long story to relate in a future full post). Now we need to paint it and finish the front overhang.
And finally, we've begun the kitchen remodel! This one is a total "gut" job... a couple months of microwave dinners are in our future...
February 12, 2012
In case of an emergency...
One of my goals for 2011 was to compile an emergency bag for Mike and I. Living in the Pacific Northwest there is always the risk of an earthquake, and although they've been quite rare/mild so far, there has been talk of a "big one" in more recent years. It eases my mind (a little) to know that we've completed this goal. It makes me feel like we have some sort of "plan".
There are lots of online resources for the "necessary" items in an emergency kit. There are also lots of pre-packaged emergency kits available for purchase. I reviewed lots and lots of resources, and for awhile contemplated purchasing the ready-made kits. However, when I reviewed the cost of the kits, then factored in all of the extra stuff I'd have to buy to supplement it (to fit our specific needs), I realized that the cost wasn't any cheaper. Not only that, but I didn't get a choice of items in the ready-made kits, and some of the stuff was rather cheap looking.
That said, here is the list of items in our kit:
A lot of this stuff was purchased on Amazon, but some of it we already had on hand or was easy to pick up at the grocery store.
I haven't tested any of this yet (happily, no need) but while reading the reviews for these products I encountered lots of people who had tested them, which factored heavily in the purchase of specific brands.
Sustenance
Datrex 3600 Emergency food bars
Datrex Emergency Water packets
Water treatment tablets
Water bottle
collapsible drinking cup
Fire & Light
Hybrid solar-powered flashlights
Industrial-grade lightsticks
Bear Grylls fire starter
Waterproof Matches
Sanitation & Medical
Medique first aid kit
Emergency Mylar blankets
Baby wipes
Pack towel (super absorbent)
Shelter
Tube tent
Nylon rope
Tools
Swiss Army knife
Extras
Backpack to put everything in
Deck of cards
Things I still need to add
Old pair of glasses
Bucket (for carrying & for sanitation)
Purell
November 18, 2011
Coffee Table
Mike and I have been searching for a coffee table for years. We have a small living room, but we do a lot of living in it. We wanted a coffee table that matched our aesthetic, our lifestyle and our budget. Unfortunately we couldn't find the trifecta. Our solution was to have Mike build something.
So while I was sewing with friends Mike enrolled in a weekend class at The Joinery to make us the Hotchberg Coffee Table. Handcrafted from Cherry, with Walnut risers and end pegs, it fits perfectly in our living room.
Mike's class took place over a Tuesday evening, followed by two full days on Saturday and Sunday. He had
a great time working in the shop and had wonderful things to say about the instructor (Ariel) and the incredible tools that they
had to use.
Clamps and a planing sander
A multitude of routers
For those times, I made a fitted cover for the coffee table out of laminated cotton (coated cotton).
I simply traced the table top onto the back-side of the fabric and cut it out with an 1/8" bleed. The edges are 2" strips of fabric, trimmed with orange bias tape, then sewn onto the top cover. I sewed the corners so that they slightly angle in, which results in a snug fit. Luckily I got a little too much of this fabric, so tomorrow I'll be finding some additional projects to use it on!
October 24, 2011
Hot-tubbing is in our future!
Last month Summer became Fall, and Mike scrambled to finish our hot tub "awning/cover".
This month, he wrapped it up!
We got the back of the house painted along with all the trim work on the columns and awning.
Mike got all of the tongue-and-groove wood installed in the soffit and the edges trimmed out.
Soffit vents and lighting were also installed.
And last week we got the hot tub moved into place!
The electrician came today, and it appears that we have some additional work ahead of us, but we're getting close to our first soak in the hot tub!
Subscribe to:
Posts (Atom)